Note: this blog post was updated to use the OpenIddict 5.1 packages.
Earlier this year, I unveiled the new web providers that will ship as part of the OpenIddict 4.0 release.
To help users understand the differences between the existing aspnet-contrib providers and the new OpenIddict-based providers, I also posted additional information on the aspnet-contrib repository ; so if you're considering replacing the aspnet-contrib providers by their equivalent in OpenIddict, don't miss it.
Today, we're going to see how to easily get started by creating a minimal application that uses the OpenIddict.Client.WebIntegration package.
At the time of writing, more than 60 providers are already available, but to keep things simple, we'll focus our attention on a single one: GitHub.
Create a new ASP.NET Core application
For this step, we could use one of the Visual Studio templates, but since there's a trend towards doing things the "minimalistic" way, we're only going to add two files: a .csproj file containing the package references we'll need and a Program.cs file:
1 | <Project Sdk="Microsoft.NET.Sdk.Web"> |
1 | var builder = WebApplication.CreateBuilder(args); |
If you run this application as-is, all you'll get is a 404 response as we didn't register any HTTP handler. We'll get back to that in a few minutes.
Create a new GitHub OAuth application
Whether you're using the new OpenIddict GitHub integration or any other OAuth 2.0 client, this step is unavoidable. But luckily, it's not that complicated and GitHub has an excellent guide to help you create your own OAuth app.
You can of course use any application name for this sample, but you'll need to use an authorization callback URL that points to your application. In this case, we'll use https://localhost:44381/callback/login/github (GitHub doesn't require that the redirect_uri specified in authorization requests have the same exact port as the one configured in the application registration, so if you specified a different port in your Program.cs, it should work too).
If everything went smoothly, GitHub should give you a client_id and a client_secret: note them down as we'll need them in the next step.
Add the OpenIddict services
Like the rest of OpenIddict, the OpenIddict client and its web providers are registered using IServiceCollection extensions and builders:
1 | builder.Services.AddOpenIddict() |
Don't forget to replace the placeholders in the previous snippet by your actual client_id and client_secret.
Since the OpenIddict client is stateful (unlike the ASP.NET Core OAuth 2.0 or OpenID Connect handlers), we'll also need to configure a database that will be used to store the state tokens OpenIddict will create to prevent cross-site request forgery, session fixation and replay attacks.
To keep things simple, we'll use the OpenIddict Entity Framework Core stores with an in-memory database:
1 | // Note: the OpenIddict client is stateful by default and relies on a database to persist |
1 | builder.Services.AddOpenIddict() |
Add HTTP handlers to start the GitHub authorization process and handle the callback request
Last but not least, we'll also add two minimal actions that will respectively be used to:
- Initiate a challenge that will redirect the user to GitHub's authorization endpoint.
- Handle the authorization response returned by GitHub to the callback/redirection endpoint of our application. For now, this endpoint will simply return a text message indicating how many public repositories the user has:
1 | // Add a minimal action responsible for triggering a GitHub challenge |
1 | // Add a minimal action responsible for handling the GitHub redirection callback. |
With these handlers in place, if you visit https://localhost:44381/challenge, you should be immediately redirected to GitHub and asked to approve the authorization request. Once you do so, you'll be redirected to https://localhost:44381/callback/login/github and a message similar to this one should be returned:
Kévin Chalet has 21 public repositories.
Implement different callback handling strategies
What happens in your callback endpoint is entirely up to you. While the previous snippet simply returned some text containing the name and the number of public repositories exposed by OpenIddict via AuthenticateResult.Principal.Claims, nothing prevents you from adopting a different logic.
You could, for instance, use the Octokit SDK to retrieve the public repositories associated with the logged in user from GitHub's API and redirect the browser to the most popular one very easily:
1 | <ItemGroup> |
1 | app.MapMethods("callback/login/github", [HttpMethods.Get, HttpMethods.Post], async (HttpContext context) => |
Returning a local authentication cookie based on the GitHub identity of the user is also quite easy.
If you're not using ASP.NET Core Identity, you'll need to add an instance of the ASP.NET Core cookie handler to store the user identity and configure it as the default scheme in the ASP.NET Core authentication options.
When using ASP.NET Core Identity, it is not necessary because multiple cookie handlers are automatically registered for you by Identity.
1 | builder.Services.AddAuthentication(CookieAuthenticationDefaults.AuthenticationScheme) |
1 | app.MapMethods("callback/login/github", [HttpMethods.Get, HttpMethods.Post], async (HttpContext context) => |
It's important to note that the the callback/redirection endpoint can only be called once with the same authorization code or state token: any subsequent request with the same parameters will result in an error being returned. Keeping these sensitive parameters in a visible URL also has security concerns.
As such, it's always a good idea to redirect the user agent to a different page – for instance, a confirmation page – once the needed actions are performed, as shown in the last snippet.
1 | app.MapGet("whoami", async (HttpContext context) => |
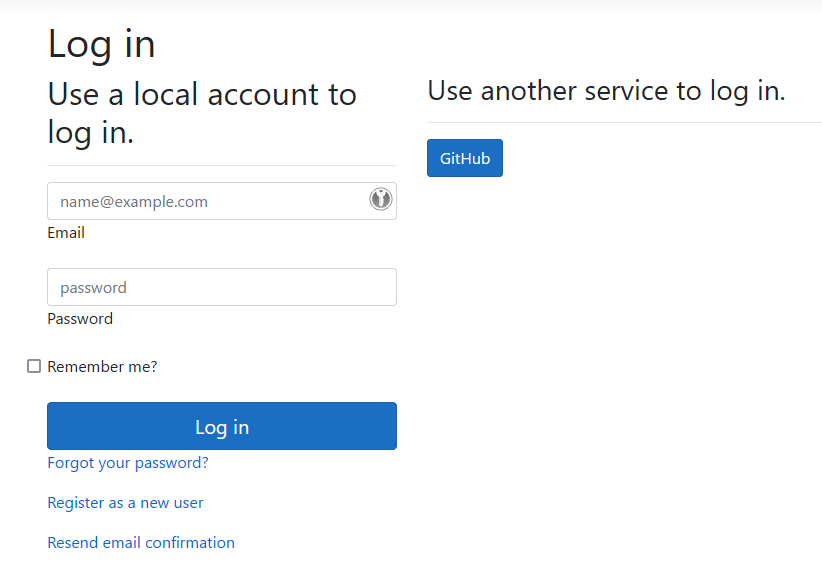
If you use ASP.NET Core Identity and its default UI, the web providers registered via options.UseWebProviders().Add*() are automatically returned without any additional configuration needed:
If needed, the display name can be customized using the .SetProviderDisplayName() API:
1 | options.UseWebProviders() |
Voilà, that's all for today! 🎋